 Skip to content
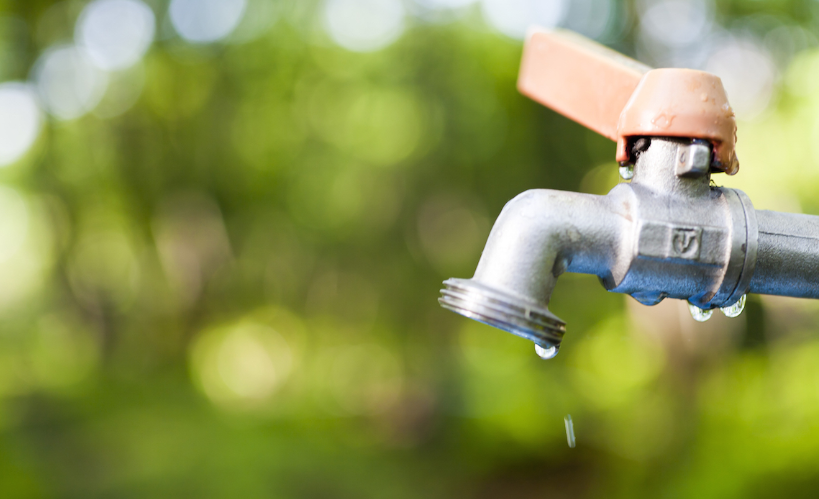
Over time, outdoor faucets can develop leaks, rust, or other issues that require replacement. Knowing how to replace an outdoor faucet properly helps prevent water waste and ensures reliable performance. With the right tools and steps, you can efficiently swap out an old or damaged faucet, improving your home’s plumbing and avoiding costly repairs.
Signs That You Need to Replace an Outdoor Faucet
Before diving into the replacement process, it’s important to understand when it’s time to replace an outdoor faucet. Here are some common signs that your faucet may need replacing:
- Frequent Leaks: If your outdoor faucet is leaking despite replacing washers or seals, it may be time for a new faucet.
- Corrosion or Rust: Outdoor faucets are exposed to harsh weather conditions, which can lead to corrosion or rust. If your faucet is heavily corroded, it may not function properly.
- Low Water Pressure: Reduced water flow could indicate a clogged or damaged faucet that might need to be replaced.
- Frozen Faucet: In colder climates, frozen pipes can cause outdoor faucets to crack or break, requiring replacement.
Tools and Materials Needed for Replacing an Outdoor Faucet
Before you begin, gather the following tools and materials to ensure a smooth and efficient replacement process:
- New Outdoor Faucet: Choose a high-quality faucet designed for outdoor use.
- Pipe Wrench or Adjustable Wrench: For loosening and tightening the faucet connections.
- Plumber’s Tape: To create a watertight seal on the threads of the faucet.
- Hacksaw: For cutting pipe if necessary.
- Screwdriver: For removing any screws or brackets.
- Teflon Tape or Pipe Joint Compound: To help prevent leaks.
- Bucket or Towel: To catch any water that may spill out during the replacement.
Step-by-Step Guide to Replacing an Outdoor Faucet
Step 1: Turn Off the Water Supply
Before you begin removing the old faucet, it’s essential to turn off the water supply to the faucet. Typically, you can do this by locating the shut-off valve for the outdoor faucet. In most homes, this valve is found in the basement, crawl space, or utility room. Once you locate the valve, turn it clockwise to shut off the water.
Step 2: Remove the Old Faucet
Once the water is turned off, it’s time to remove the old faucet. Follow these steps:
- Loosen the Faucet: Use a pipe wrench or adjustable wrench to loosen the faucet from the water supply pipe. Turn counterclockwise to remove it.
- Cut the Pipe (If Necessary): If the faucet is tightly attached and cannot be unscrewed, you may need to use a hacksaw to cut the pipe near the faucet.
- Remove Any Remaining Pipe Threads: If the faucet is threaded onto the pipe, you’ll need to remove any remaining threads using pliers or a pipe wrench.
Step 3: Prepare the New Faucet
Before installing the new faucet, it’s crucial to prepare it properly to avoid leaks:
- Apply Plumber’s Tape: Wrap plumber’s tape around the threads of the water supply pipe. This tape helps create a watertight seal and prevents leaks.
- Check the Gasket: Ensure the new faucet has a proper gasket in place. If not, replace it with a suitable one.
- Align the Faucet: Position the new faucet onto the water supply pipe, ensuring it’s aligned correctly.
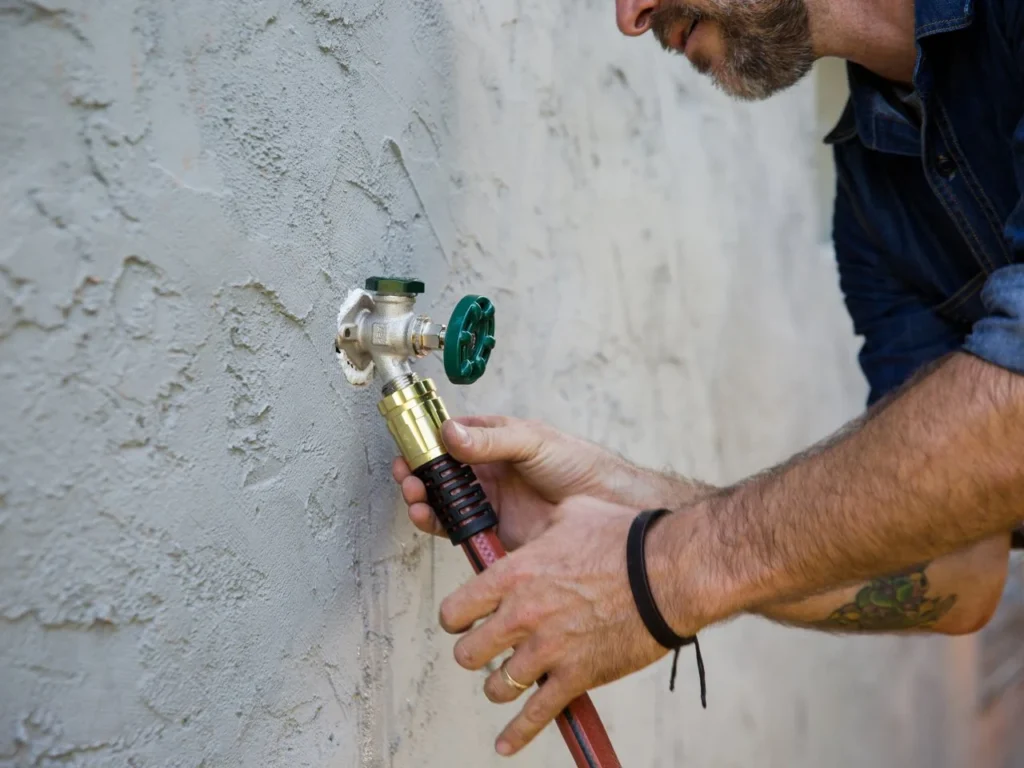
Step 4: Install the New Faucet
Now that your new faucet is ready to be installed, follow these steps to attach it securely:
- Screw on the Faucet: Tighten the faucet onto the water supply pipe by turning it clockwise. Use a pipe wrench or adjustable wrench to ensure it’s firmly attached, but be careful not to overtighten.
- Secure the Faucet: If the faucet has mounting screws or brackets, use a screwdriver to secure it to the wall or exterior surface.
- Check for Proper Alignment: Make sure the faucet is positioned correctly so that it drains water properly when turned on.
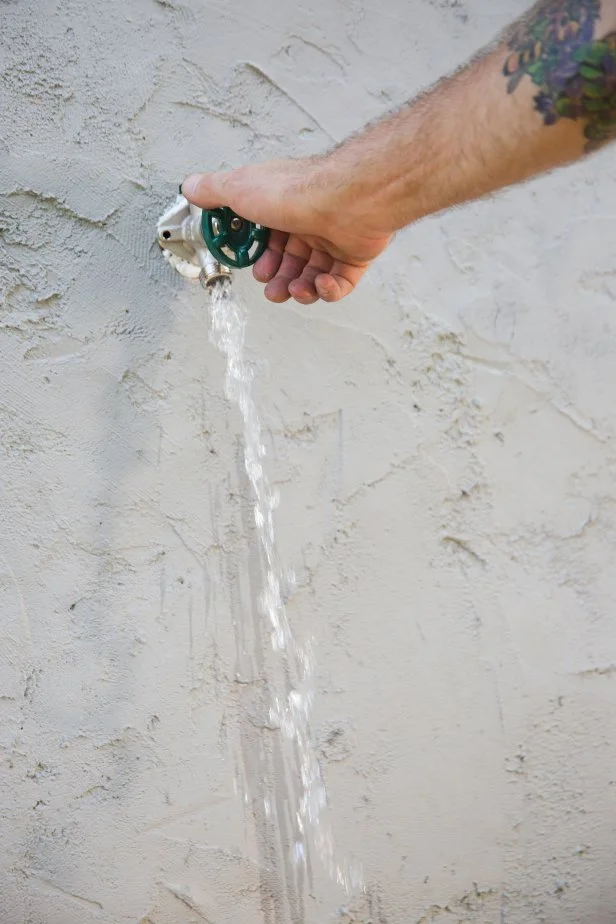
Step 5: Test the New Faucet
Once the new faucet is installed, it’s time to test it:
- Turn on the Water Supply: Locate the shut-off valve and turn it counterclockwise to restore the water supply.
- Check for Leaks: Turn on the faucet and check for any leaks around the base or threads. If you notice any water escaping, you may need to tighten the faucet or reapply plumber’s tape to the threads.
- Inspect Water Flow: Ensure that water flows freely from the faucet and that the pressure is adequate. If the flow is weak, the pipe might be clogged or there might be an issue with the installation.
Step 6: Final Adjustments
If everything is working properly, you can proceed with any final adjustments:
- Seal the Faucet with Silicone: To prevent water damage around the base of the faucet, apply a bead of silicone sealant around the edges where the faucet meets the wall.
- Clean Up: Wipe down the area, remove any excess materials, and store your tools.
Tips for Maintaining Your Outdoor Faucet
Proper maintenance can help extend the lifespan of your outdoor faucet. Here are some tips to keep your faucet in top condition:
- Winterize Your Faucet: In colder climates, make sure to winterize your outdoor faucet to prevent freezing. You can either shut off the water supply to the faucet or install an insulated faucet cover.
- Inspect Regularly: Periodically check for leaks or damage to prevent issues from escalating.
- Clean the Faucet: Clean the faucet regularly to remove debris or mineral buildup that could clog the nozzle or affect water pressure.
(FAQs)
1. How do I know if my outdoor faucet is broken?
If your outdoor faucet is leaking continuously, has visible rust or corrosion, or produces low water pressure, it may be time to replace it. In colder climates, frozen or cracked pipes are also a common indicator that the faucet needs replacing.
2. Can I replace an outdoor faucet myself?
Yes, replacing an outdoor faucet is a task that can usually be done by a homeowner with basic plumbing skills. Ensure you have the right tools and follow the correct procedures, as detailed in this guide, for a successful installation.
3. Why is my outdoor faucet leaking even after replacing the washers?
If your faucet is still leaking after replacing the washers, the problem might lie deeper in the faucet valve or the pipe connection. The faucet itself may be damaged or corroded, requiring a full replacement.
4. How do I prevent my outdoor faucet from freezing in winter?
To prevent freezing, you can either shut off the water supply to the outdoor faucet and drain the pipe or install an insulated faucet cover. This helps to avoid cracked pipes and potential leaks during colder months.
5. How long does an outdoor faucet typically last?
An outdoor faucet can last anywhere from 10 to 20 years, depending on the material, usage, and exposure to weather conditions. Regular maintenance, such as checking for leaks and cleaning the faucet, can extend its lifespan.
Conclusion
Replacing an outdoor faucet is a straightforward task that can save you money and prevent water wastage. By following this step-by-step guide, you can easily replace your old faucet and ensure it functions properly for years to come. Remember to use high-quality materials, take your time, and always check for leaks after installation.
