 Skip to content
To flush a tankless water heater, turn off the power and water supply, connect hoses to the service valves, and circulate a descaling solution or white vinegar through the system for 45–60 minutes. Rinse thoroughly with clean water before restoring power. Regular flushing helps prevent mineral buildup and extends the unit’s lifespan.
Tankless water heaters save energy and are space-friendly. But, they need flushing to avoid mineral buildup. By doing this, you’ll make your heater last longer and keep hot water flowing.
Why Regular Flushing of Your Tankless Water Heater is Important
Keeping your tankless water heater efficient and lasting longer is key. Knowing *how often to flush tankless water heater* and *how to clean tankless water heater* is essential. Homeowners must address these questions to ensure their system works well.
Signs Your Tankless Water Heater Needs Flushing
Notice a drop in water flow or temperature changes? These could mean mineral buildup is slowing your heater. Not taking care of these signs can lead to bigger problems. So, regular maintenance is crucial.
Understanding Mineral Buildup and Its Effects
Minerals like calcium and limescale can block your tankless water heater. This buildup reduces efficiency and can shorten its life if not cleaned out.
Optimal Flushing Frequency for Different Water Types
The best time to flush your tankless water heater depends on your water’s hardness. If you have hard water, you might need to flush it more often. This helps avoid too much mineral buildup and keeps your heater running well.
Tools and Materials Needed to Flush a Tankless Water Heater
Flushing your tankless water heater is key to keeping it efficient and lasting longer. You’ll need a few important tools and materials for this task. First, a submersible pump is necessary to move the cleaning solution through the unit. You’ll also need buckets and hoses to connect the pump to the water heater.
Choosing the right cleaning solution is crucial. White vinegar is a good option because it breaks down mineral buildup. Or, you can use a commercial descaling solution made for tankless water heaters. Always follow the instructions on the cleaning solution you choose.
Remember, safety is important when flushing your tankless water heater. Wear gloves and protective eyewear to avoid splashes. Also, turn off the power to the water heater before you start. With the right tools and safety steps, you can flush your tankless water heater effectively.
Step-by-Step Guide on How to Flush a Tankless Water Heater
Flushing your tankless water heater is a manageable DIY project if you follow the proper steps. Here’s how to do it:
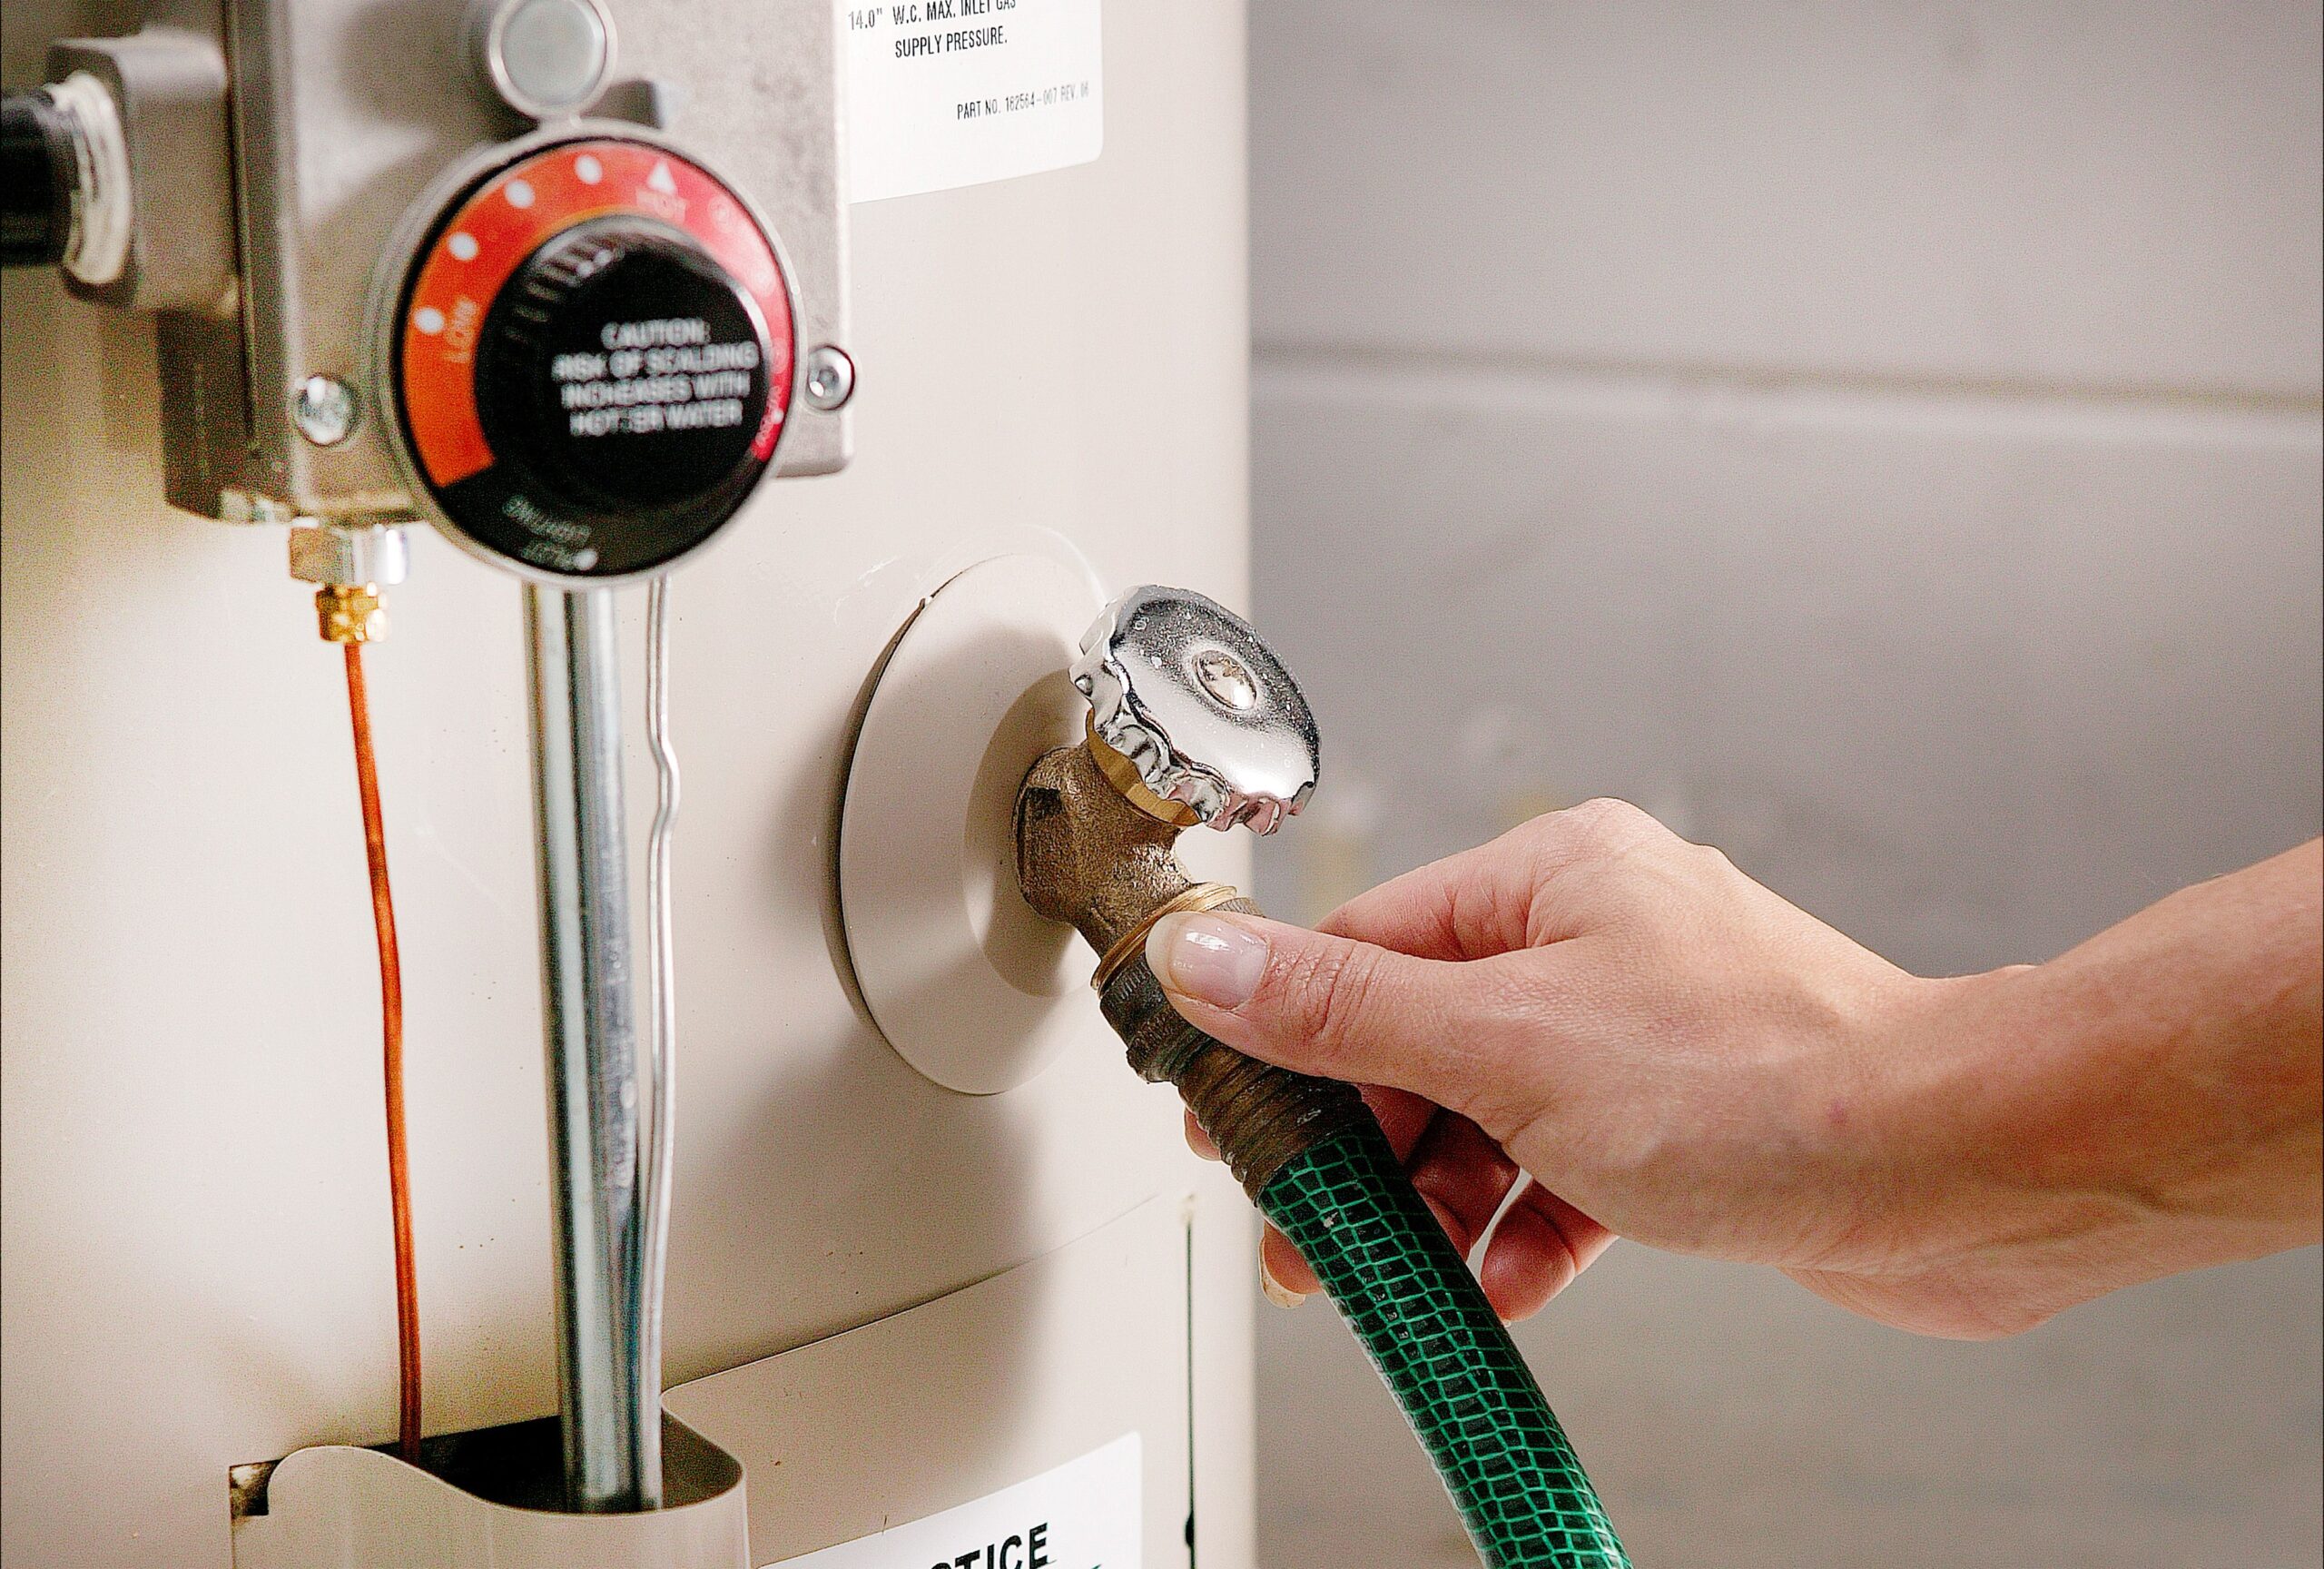
Step 1: Turn Off the Power and Water Supply
Before starting, ensure that your tankless water heater is turned off. This is crucial for safety. If you have an electric model, switch off the power at the breaker. For gas models, turn off the gas supply. Additionally, turn off the cold water supply valve that feeds into the unit.
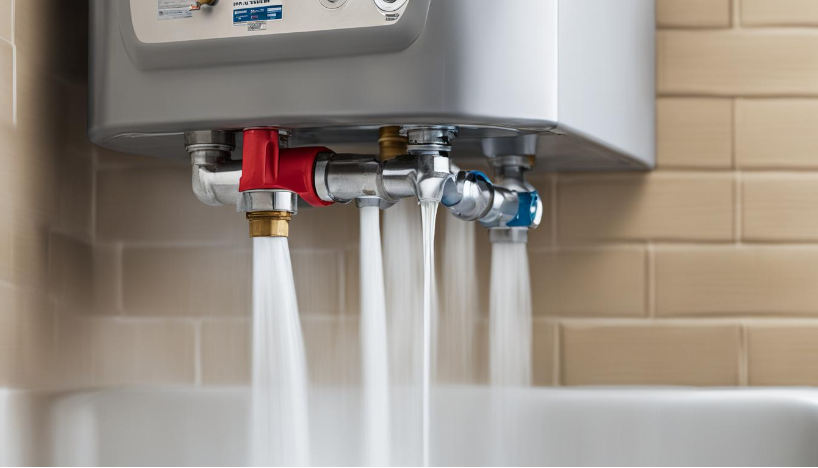
Step 2: Connect the Hoses to the Inlet and Outlet Ports
Most tankless water heaters have designated ports for flushing. These are usually marked “cold” and “hot.” You’ll need to attach the hoses to these ports. Use a bucket to hold the solution of white vinegar (or descaling agent), which will be circulated through the system.
- Attach one hose to the cold water inlet and place the other end into the bucket filled with the descaling solution.
- Connect the second hose to the hot water outlet and place the other end in the same bucket, allowing the water to flow back into the container.
Step 3: Submerge the Pump
Submerge the submersible pump into the bucket with the descaling solution. The pump will help circulate the solution through the heater and flush out the mineral deposits inside.
Step 4: Turn on the Pump and Begin the Flushing Process
Now it’s time to start the flushing process. Turn on the submersible pump and let it run for about 45 minutes to 1 hour. During this time, the descaling solution will circulate through the tankless water heater, dissolving and loosening any built-up minerals. Make sure to monitor the process to ensure everything is running smoothly.
Step 5: Rinse the System
After the flushing cycle is complete, turn off the pump and disconnect the hoses. Next, you’ll need to rinse the system to remove any remaining vinegar or descaling solution. Reconnect the cold water supply and allow the water to flow through the system for a few minutes to flush out any residual solution.
Step 6: Check for Leaks and Reconnect the Power and Water Supply
Before powering your tankless water heater back on, inspect all connections to ensure there are no leaks. Once everything looks good, reconnect the power (or gas) and turn on the water supply. Your tankless water heater is now ready to run smoothly and efficiently.
Troubleshooting Tips
While flushing a tankless water heater is a relatively straightforward task, there are a few common issues that homeowners may encounter:
- Error codes: Some tankless heaters have built-in error codes that may appear if the system is not flushed correctly. If you encounter an error code, consult the manufacturer’s manual for specific troubleshooting steps.
- Clogging or blockages: If you notice a significant drop in water flow or pressure even after flushing, there may be a more serious issue like a clog. In such cases, it’s best to call a professional plumber to inspect and clean the unit.
Benefits of Regularly Flushing Your Tankless Water Heater
- Enhanced Efficiency: Removing mineral deposits ensures your water heater operates at its full potential, improving heating efficiency.
- Cost Savings: Efficient operation means your heater uses less energy, leading to lower energy bills.
- Prevention of System Failures: Flushing removes scale buildup that could otherwise cause malfunction or complete failure of the heating elements or coils.
- Increased Lifespan: Regular maintenance extends the life of your tankless water heater, saving you from costly repairs or early replacement.
Conclusion
Flushing your tankless water heater is a vital part of its maintenance. By following the steps outlined in this guide, you can ensure your water heater operates efficiently and lasts longer. Whether you do it yourself or hire a professional, regular flushing helps prevent scale buildup, improves water flow, and keeps energy costs down.
FAQ
How often should I flush my tankless water heater?
Flushing your tankless water heater depends on your water’s hardness. Generally, flush it every 6-12 months. This helps prevent mineral buildup and keeps it running efficiently.
What are the signs that my tankless water heater needs flushing?
Look out for signs like reduced water flow and changing water temperatures. Also, check for mineral deposits in the unit or pipes. If you see these, it’s time for a flush.
What tools and materials do I need to flush my tankless water heater?
You’ll need a submersible pump, buckets, a garden hose, vinegar or descaling solution, and adjustable wrenches. Have all these ready before you start.
How do I flush a tankless water heater?
First, turn off the power and water supply. Connect the submersible pump to a hose and a bucket with vinegar or solution. Attach the hose to the heater’s flush port. Turn on the pump and let it run for 30-60 minutes. Then, flush with clean water.
Can I flush a regular (tank-type) water heater the same way?
No, tank-type water heaters need a different method. Drain the tank, then fill it with vinegar or solution. Let it sit before draining and refilling with clean water..
What happens if I don’t flush my tankless water heater?
Without regular flushing, mineral deposits can decrease efficiency, raise energy costs, and even cause system malfunctions, leading to costly repairs.
Can I flush my tankless water heater myself?
Yes, flushing your tankless water heater is a DIY task. It requires a few tools like a submersible pump, hoses, and a descaling solution.
How do I know if my tankless water heater needs flushing?
Signs you need to flush your tankless water heater include reduced water flow, fluctuating water temperatures, or error codes indicating maintenance is needed.
What is the best solution for flushing my tankless water heater?
White vinegar or a descaling solution specifically designed for tankless heaters works best. Avoid using harsh chemicals that could damage the system.
How long does it take to flush a tankless water heater?
Flushing a tankless water heater typically takes about 45 minutes to 1 hour. This ensures the solution circulates properly and clears mineral buildup.
Do I need special tools to flush a tankless water heater?
You will need a submersible pump, hoses, a bucket, and basic plumbing tools to disconnect water lines. These tools are easily available at hardware stores.
Is it necessary to turn off the power when flushing the tankless water heater?
Yes, always turn off the power and water supply to ensure safety while performing maintenance. This prevents electrical hazards and system damage.
Can mineral buildup cause my tankless water heater to stop working?
Yes, mineral buildup can cause overheating, clogging, and trigger error codes. Regular flushing helps prevent these issues and keeps the system running smoothly.
