 Skip to content
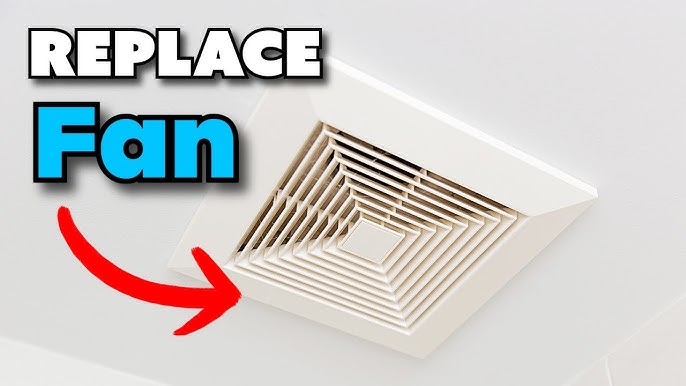
Replacing an old fan is crucial for maintaining good air circulation and preventing mold. Learning how to replace an exhaust fan in your bathroom ensures better ventilation and improved air quality. This guide will walk you through the process step by step.
Why Replacing Your Bathroom Exhaust Fan is Essential
Before diving into the replacement process, it’s crucial to understand why maintaining an exhaust fan in your bathroom is so important. An exhaust fan is designed to remove excess humidity, odors, and moisture from the bathroom, which can cause a number of issues if not addressed.
The Benefits of a Functional Exhaust Fan
- Prevent Mold and Mildew: Excess moisture in the air creates a breeding ground for mold and mildew. These can damage the walls, ceilings, and overall structure of your bathroom.
- Reduce Odors: A bathroom without proper ventilation can harbor unpleasant odors, creating an uncomfortable environment.
- Improve Air Quality: Removing moisture and contaminants from the air helps keep the bathroom fresh and breathable.
- Increase Comfort: Proper ventilation ensures the bathroom is dry and comfortable, especially after hot showers.
If your exhaust fan is malfunctioning or outdated, replacing it is the best solution to restore these benefits.
Signs It’s Time to Replace Your Exhaust Fan
It’s important to recognize the signs that indicate the need for a replacement. Here are a few signs your exhaust fan may be due for replacement:
- Poor Performance: If the fan isn’t pulling moisture or odors out of the bathroom effectively, it may need to be replaced.
- Noisy Operation: A fan that makes excessive noise or rattles is likely malfunctioning and may not be performing at its best.
- Age: Exhaust fans typically last 10-15 years. If your fan is older and has stopped working, it might be time for an upgrade.
- Physical Damage: If you notice visible damage or wear, such as cracks in the fan housing or electrical issues, replacement is necessary.
If your fan is showing any of these signs, replacing it can restore your bathroom’s ventilation system.
Choosing the Right Exhaust Fan for Your Bathroom
Selecting the right exhaust fan is essential for ensuring proper ventilation in your bathroom. Several factors influence which fan is best suited for your needs:
1. Fan Size and CFM Rating
The size of the exhaust fan is determined by its CFM (Cubic Feet per Minute) rating, which measures the airflow. A fan with the correct CFM rating is crucial for effective ventilation. To calculate the correct CFM for your bathroom, consider the square footage of the space.
- For bathrooms up to 50 square feet: 50 CFM.
- For bathrooms 50-100 square feet: 80-100 CFM.
- For larger bathrooms: 100-150 CFM.
Ensure the fan you choose matches the recommended CFM for your bathroom size to maintain optimal airflow.
2. Noise Level (Sones)
Fan noise is measured in sones, with a lower number indicating a quieter operation. If you prefer a quieter fan, look for a model with a sones rating of 1.0 or lower. Quieter fans provide comfort without disrupting your bathroom’s tranquility.
3. Energy Efficiency
Modern exhaust fans come with energy-efficient features, such as Energy Star ratings, which can help reduce energy consumption. Consider choosing an energy-efficient model to minimize your utility bills while benefiting from effective ventilation.
4. Additional Features
Some exhaust fans come with added features such as built-in lighting, humidity sensors, or automatic timers. These features enhance convenience and energy savings, allowing the fan to turn off when it detects the right humidity levels or after a set period.
Tools and Materials You’ll Need for the Replacement
Before starting the replacement process, ensure you have all the necessary tools and materials. Here’s a list of what you’ll need:
- New exhaust fan (chosen based on the factors discussed above)
- Screwdriver (flathead or Phillips depending on your fan model)
- Wire nuts for electrical connections
- Voltage tester
- Drill (if additional holes need to be made)
- Ladder or step stool (if the fan is installed high on the ceiling)
- Tape measure to ensure correct sizing
- Caulk (for sealing any gaps after installation)
Having the right tools at hand will make the replacement process smoother and quicker.
Step-by-Step Guide to Replacing Your Bathroom Exhaust Fan
Step 1: Turn Off Power
Before working with any electrical appliances, it’s crucial to ensure your safety. Turn off the power to the bathroom at the circuit breaker. This will prevent any accidental electrical shocks while you are working with the fan wiring.
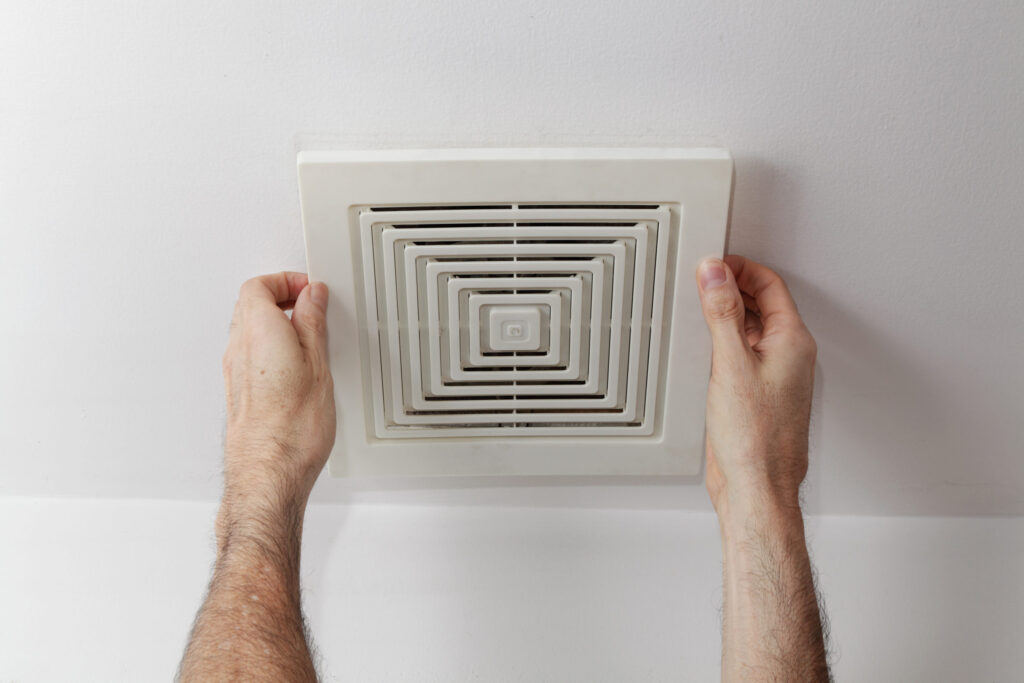
Step 2: Remove the Old Exhaust Fan
Start by removing the fan cover. Typically, this is done by either snapping it off or unscrewing it. Once the cover is off, you will see the fan and its mounting hardware. Use your screwdriver to unscrew the fan from the ceiling.
Carefully lower the fan from its housing and disconnect the wires. Use a voltage tester to ensure there is no power running through the wires before making any disconnections. Disconnect the electrical wires by unscrewing the wire nuts.
Step 3: Remove the Vent Duct
After disconnecting the fan’s electrical wiring, the next step is to detach the vent duct that leads from the fan to the outside. This may be secured with a clamp or screw. Carefully remove the duct and set it aside.
Step 4: Prepare the New Fan for Installation
Now that the old fan is removed, you’ll need to prepare the new exhaust fan for installation. Measure the space where the old fan was installed to ensure the new fan fits properly. If necessary, adjust the ceiling hole using a saw or drill to accommodate the new unit.
Step 5: Install the New Exhaust Fan
Position the new exhaust fan in the ceiling and attach it using the provided mounting brackets or screws. Make sure it is securely fastened to prevent vibrations or movement during operation.
Connect the electrical wiring according to the manufacturer’s instructions. Typically, this involves matching the corresponding colored wires (black to black, white to white, etc.) and securing them with wire nuts.
Step 6: Reconnect the Vent Duct
Reconnect the vent duct to the new exhaust fan, ensuring it is tightly secured with a clamp or screw. Proper sealing is important to prevent leaks and maintain efficient airflow.
Step 7: Test the New Exhaust Fan
After the fan is installed, restore power at the circuit breaker and test the fan. Check for proper operation, airflow, and noise levels. Ensure that the fan is removing moisture effectively and that it runs quietly.
Step 8: Install the Fan Cover
Finally, attach the cover to the fan, securing it in place according to the fan’s design. If the cover is designed to snap into place, ensure it fits snugly.
Final Thoughts on Replacing Your Bathroom Exhaust Fan
Replacing an exhaust fan in your bathroom is a straightforward yet highly beneficial home improvement task. By ensuring proper ventilation, you help maintain a healthier, more comfortable bathroom environment. With the right tools and a clear understanding of the steps involved, you can easily replace your exhaust fan and enjoy the improved functionality of your bathroom.
